15 Essential Tools for Flooring Installation Projects
July 13, 2026, by Levi Winkler, Flooring Expert & Owner of Rejuvenation Floor & Design
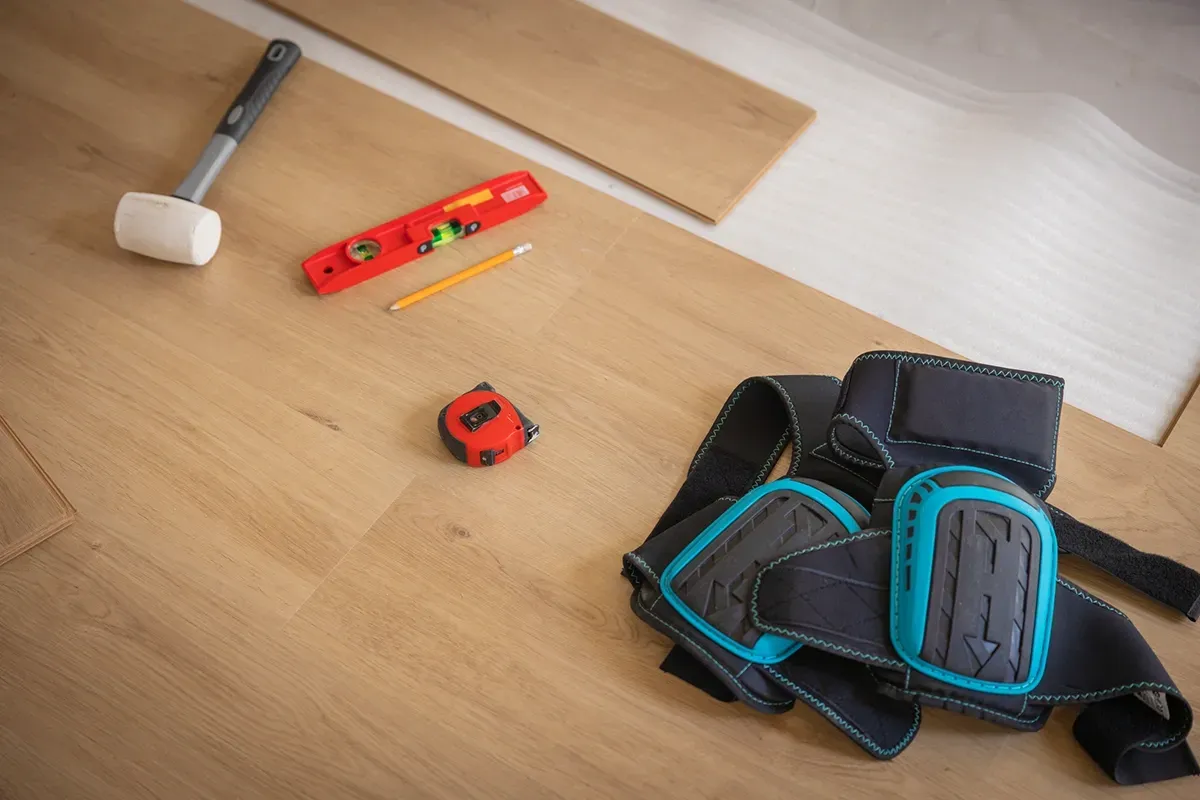
Whether you're installing laminate, luxury vinyl plank (LVP), engineered hardwood, or solid hardwood flooring, having the right tools can make all the difference. Proper flooring tools help ensure accurate measurements, cleaner cuts, tighter seams, and a more professional-looking finished floor.
At Rejuvenation Floor & Design, owner Levi Winkler brings 26 years of experience in flooring, and one lesson comes up again and again: the right tools are just as important as quality materials. While some flooring projects may require specialized equipment, many of the most important tools are useful across a wide range of flooring types. Whether you're a DIY homeowner planning your first installation or simply curious about what goes into a professional flooring project, this guide covers 15 essential tools for flooring that can help make the job easier and more successful.
1. Tape Measure
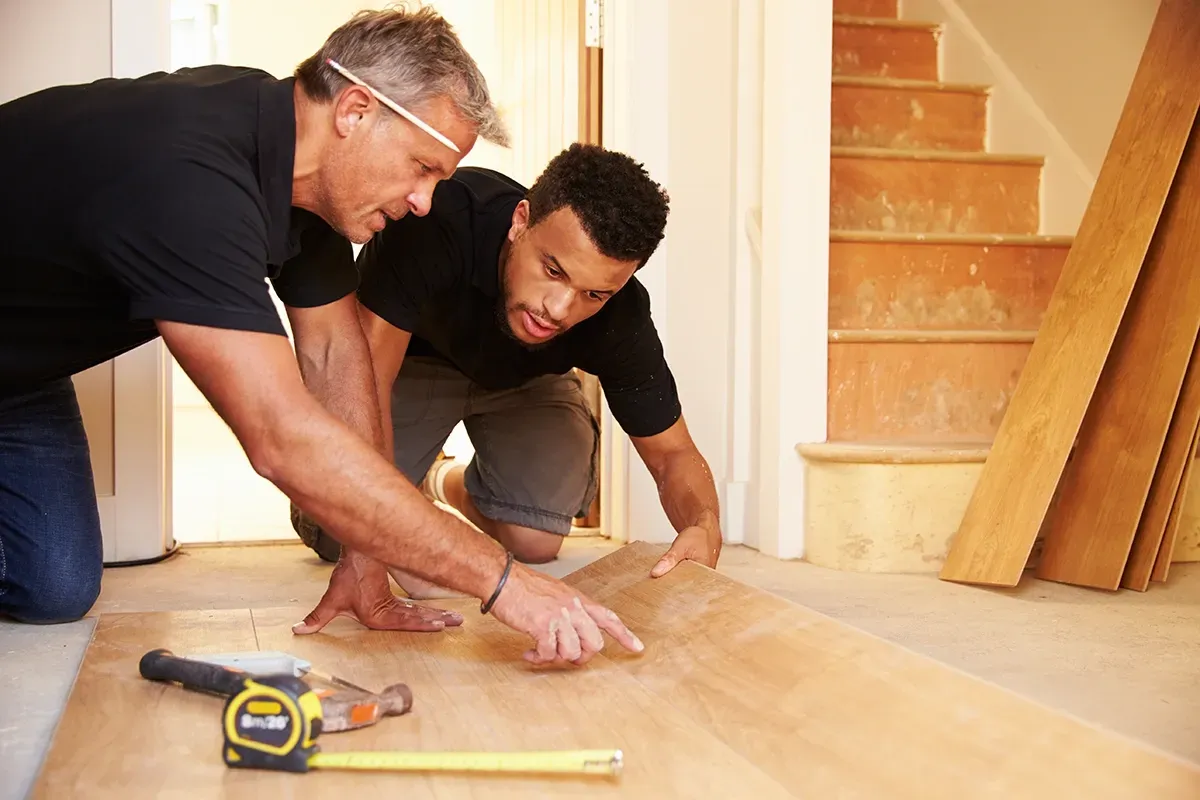
Every flooring project starts with accurate measurements. It may sound like a no-brainer, but a quality tape measure is the most important tool you'll use before and during a flooring installation. Measuring your space correctly helps determine how much flooring to purchase and reduces the risk of costly ordering mistakes. During installation, a tape measure is constantly used to verify plank lengths, room dimensions, expansion gaps, and transition placements. Look for a tape measure with a sturdy blade, easy-to-read markings, and a locking feature for improved accuracy.
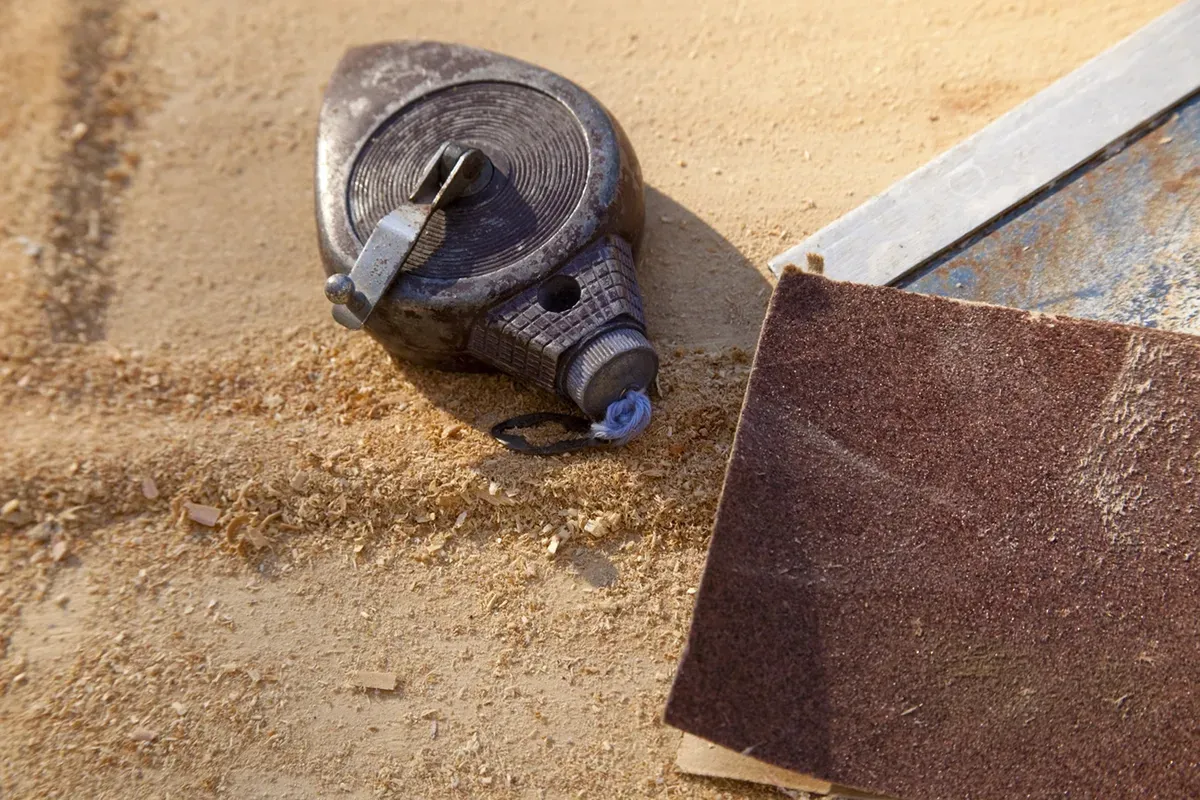
2. Chalk Line
Keeping flooring rows straight is essential for achieving a professional appearance. A chalk line creates a long, straight reference line across a room, helping installers maintain proper alignment throughout the project. Even slight deviations at the start of an installation can become noticeable several rows later. Chalk lines are especially helpful when installing laminate, vinyl plank, engineered hardwood, and solid hardwood flooring in larger spaces where visual alignment is critical. Taking a few minutes to establish accurate reference lines can save hours of correction later.
3. Utility Knife
A utility knife is one of the most versatile tools on any flooring project. It can be used to trim underlayment, cut vapor barriers, open packaging, and score certain types of vinyl flooring. Many luxury vinyl products can be cut by scoring the surface with a utility knife and snapping the plank along the cut line. Keeping extra blades on hand is important. Sharp blades produce cleaner cuts and require less effort, making the installation process safer and more efficient.
4. Flooring Cutter
For laminate and vinyl flooring installations, a flooring cutter can significantly speed up the process. Unlike power saws, flooring cutters create clean cuts without generating dust or excessive noise. They are particularly useful for straight cuts and repetitive trimming during larger projects. Many DIY homeowners appreciate flooring cutters because they are simple to use and don't require electrical power. While they may not replace every cutting tool needed for a project, they can reduce installation time and help create cleaner workspaces.
5. Jigsaw
Not every cut is straight. Flooring often needs to fit around floor vents, door frames, kitchen islands, cabinets, and other obstacles. A jigsaw allows installers to make curved, detailed, and irregular cuts that would be difficult with other tools. Modern jigsaws can cut through laminate, engineered wood, hardwood, and many vinyl flooring products when paired with the proper blade. For many installations, a jigsaw becomes the go-to tool whenever precision shaping is required.
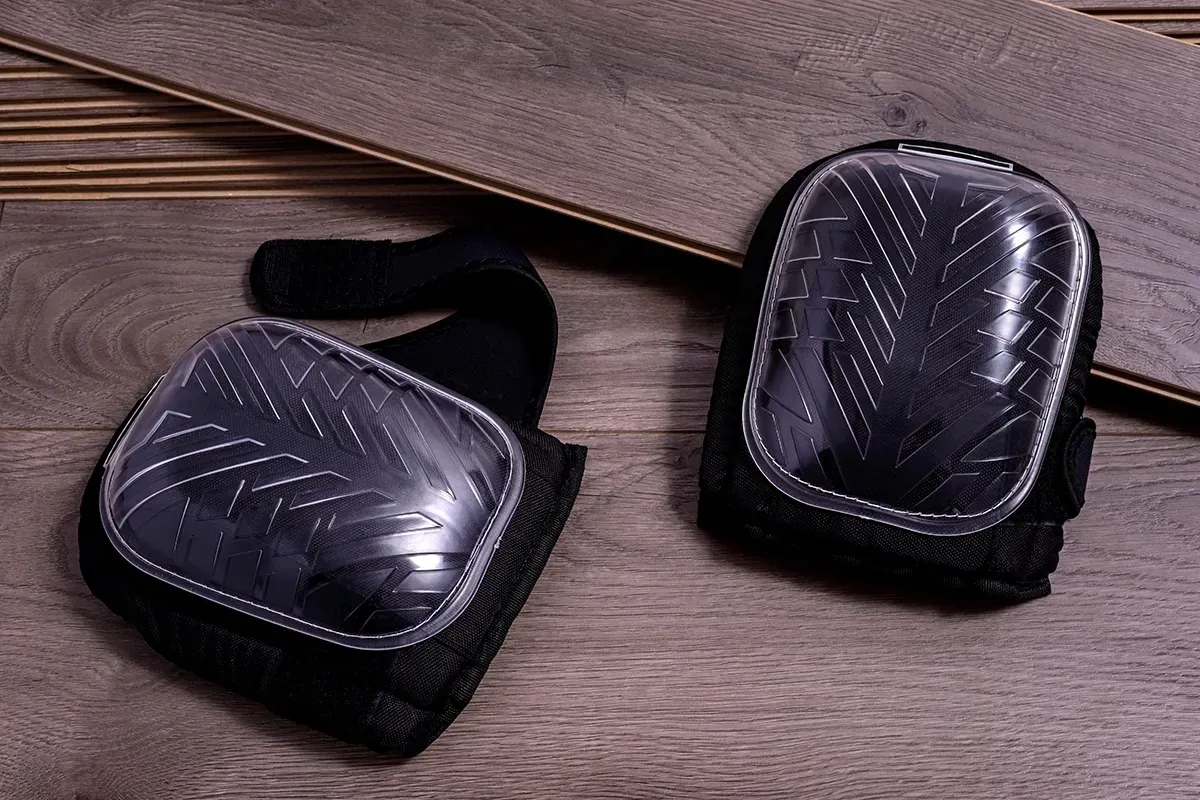
6. Knee Pads
Flooring installation involves hours of kneeling, crawling, and working close to the ground. Quality knee pads help reduce fatigue, improve comfort, and protect joints during long projects. They can also improve productivity by allowing installers to work more comfortably throughout the day. For DIY homeowners tackling a weekend flooring project, knee pads are often one of the most appreciated tools once the work begins. Sometimes the best tool isn't one that improves the floor—it's one that helps protect the installer.
7. Pull Bar
Installing flooring along walls can be challenging because there is often not enough room to swing a hammer or use a tapping block. A pull bar solves this problem by allowing installers to pull planks tightly together in confined spaces. This helps eliminate gaps while maintaining the integrity of the flooring's locking system. Pull bars are particularly valuable when installing floating floors. Although simple in design, they can make a significant difference in the quality of the finished installation.
8. Tapping Block
Many modern flooring products feature click-lock installation systems that require planks to fit together precisely. A tapping block helps seat flooring planks without damaging the edges or locking mechanisms. Rather than striking the flooring directly, installers tap the block to gently guide planks into place. Using a tapping block helps protect the flooring and can reduce the likelihood of chipped edges, damaged corners, or compromised locking systems. For floating floor installations, this small tool is often indispensable.
9. Rubber Mallet
A rubber mallet works hand-in-hand with a tapping block. Unlike traditional metal hammers, rubber mallets distribute force more evenly and are less likely to damage flooring materials. They provide enough impact to secure planks while helping maintain the integrity of the flooring surface. Whether you're installing laminate, vinyl plank, or engineered hardwood, a rubber mallet can help achieve tighter seams and a more professional fit. It's a simple tool, but one that most flooring installers reach for repeatedly throughout a project.
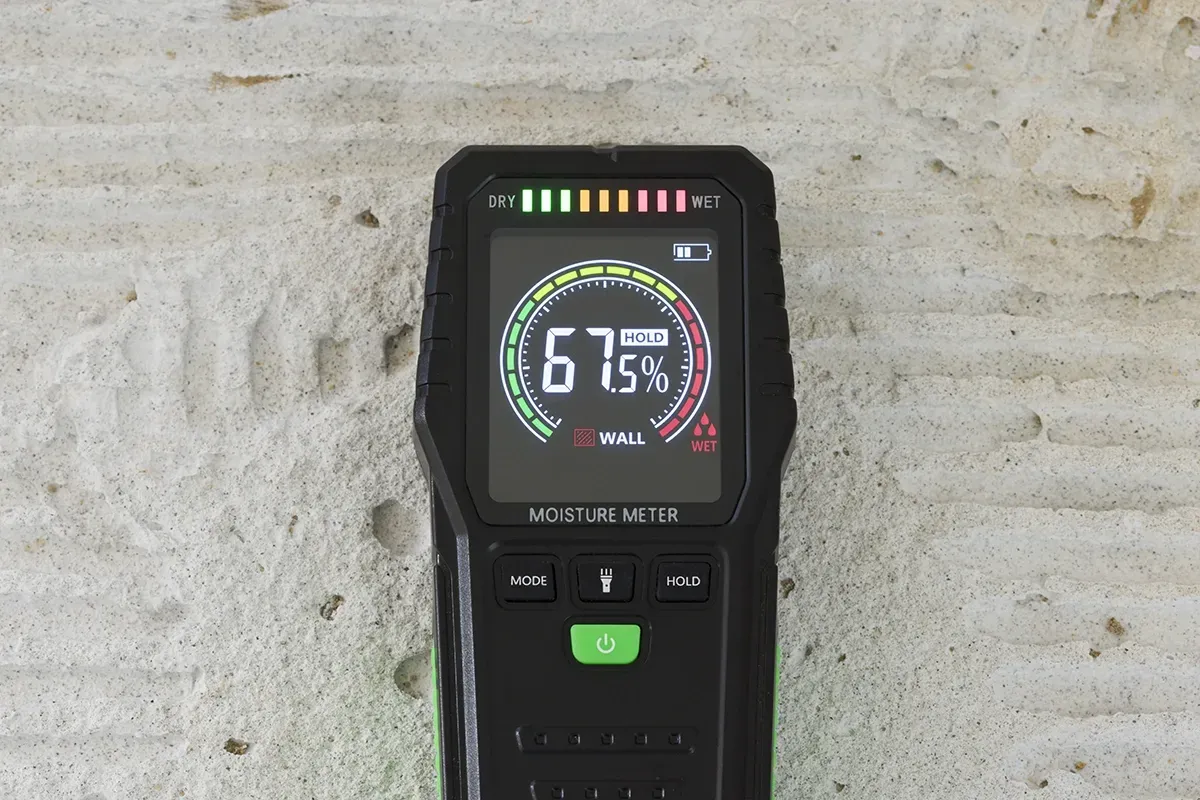
10. Moisture Meter
A moisture meter is one of the most overlooked yet important flooring tools. Moisture problems are a leading cause of flooring failures, particularly with hardwood and engineered wood products. Installing flooring over a subfloor with excessive moisture can lead to expansion, contraction, cupping, warping, and other issues down the road. A moisture meter allows installers to verify that both the flooring material and subfloor meet manufacturer requirements before installation begins. While it may not seem as exciting as cutting tools or installation accessories, it can help prevent costly problems later.
Bonus Flooring Tools Worth Considering
Depending on the flooring type and project complexity, a few additional tools may be useful:
- Oscillating Multi-Tool: Excellent for undercutting door jambs and making precise cuts in tight spaces.
- Miter Saw: Ideal for fast, accurate crosscuts on hardwood and engineered wood flooring.
- Table Saw: Useful for ripping planks lengthwise when fitting flooring along walls.
- Pry Bar: Helpful for removing existing flooring and trim before installation.
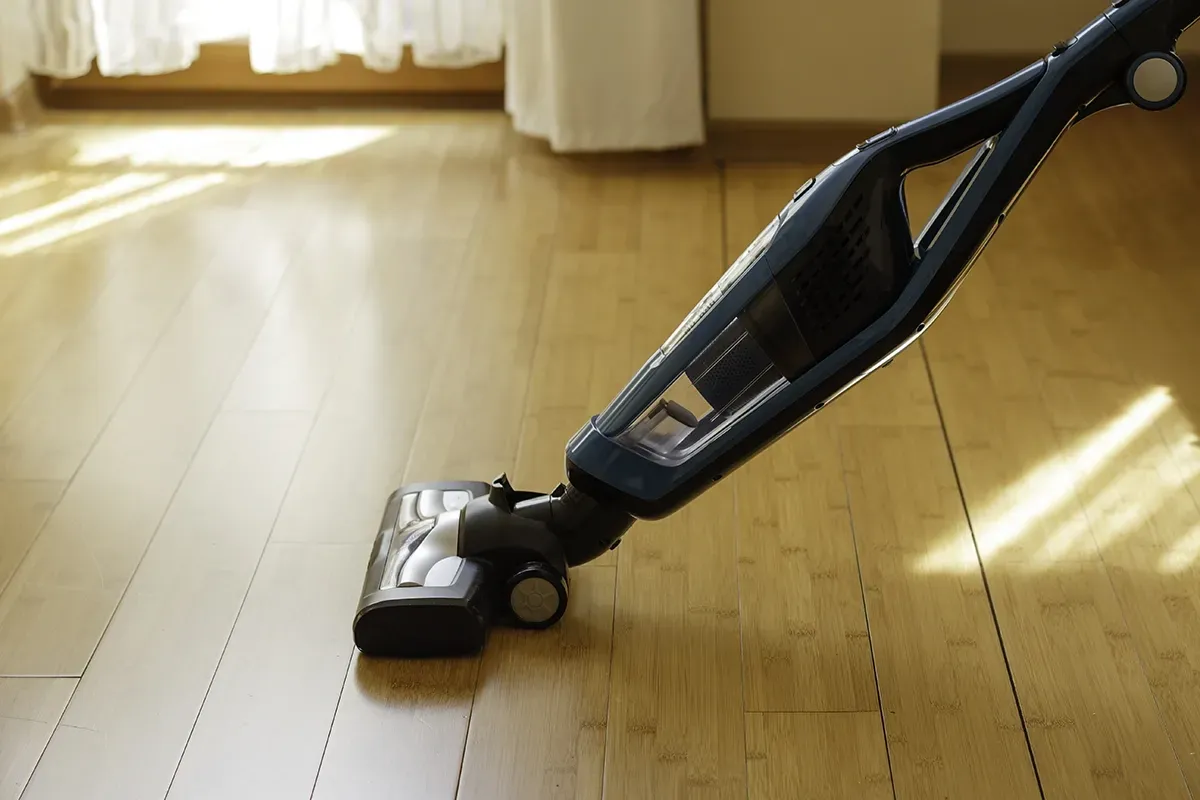
- Shop Vacuum: Keeps the workspace clean and helps remove dust and debris before flooring is installed.
Buying vs Renting Flooring Tools
One early decision many homeowners face is whether to buy their tools or rent them. The right choice usually comes down to the size of the job and how often you expect to do flooring work in the future. Buying makes sense for the smaller, frequently used tools. A tape measure, utility knife, chalk line, pull bar, tapping block, rubber mallet, and knee pads are affordable, useful across many home projects, and worth keeping on hand.
Renting is often smarter for larger or specialized equipment. Flooring cutters, miter saws, table saws, and moisture meters can carry a significant upfront cost, and many homeowners only need them for a single project. Renting gives you access to professional-grade tools without the long-term investment or storage.
For most DIY projects, a blended approach works best: buy the small, everyday tools and rent the expensive machinery. That keeps costs manageable while still giving you everything needed for a clean, professional result.
Final Thoughts
Successful flooring installations require more than just quality flooring materials. The right tools help improve accuracy, efficiency, and overall results while reducing frustration during the installation process. Whether you're planning a DIY flooring project or simply researching the installation process, investing in the proper flooring tools can help ensure a smoother experience and a better finished floor. From measuring and cutting to fitting and finishing, these ten essential tools for flooring form the foundation of nearly every successful flooring project.
We encourage local homeowners planning a flooring upgrade or those with questions about materials, installation methods, or choosing the right flooring for your home, to
visit our flooring store and showroom in Portland, Oregon or contact our team for a free estimate.
About the Author:
Levi Winkler is the owner of Rejuvenation Floor & Design, where he has been helping homeowners and businesses transform their spaces with high-quality flooring for over 16 years. Based in Portland, Oregon, Levi specializes in hardwood flooring, as well as luxury vinyl, laminate, and more. With decades of hands-on flooring installation and restoration experience, Levi is known for his attention to detail, product knowledge, and commitment to long-lasting results. He works closely with clients to ensure every flooring project is tailored to their style, needs, and budget.
Recent Articles