How to Fix Scratches on a Wood Floor (the Right Way)
Author: Levi Winkler, Flooring Expert & Owner of Rejuvenation Floor & Design

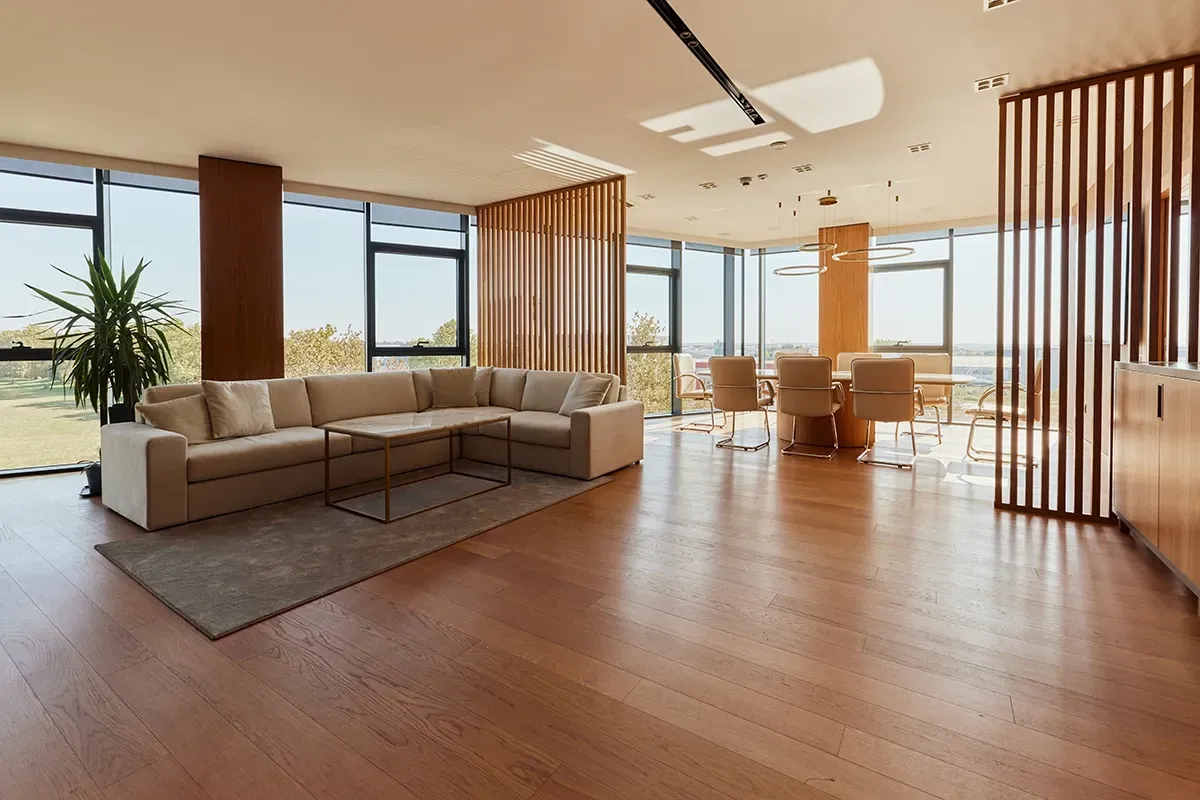
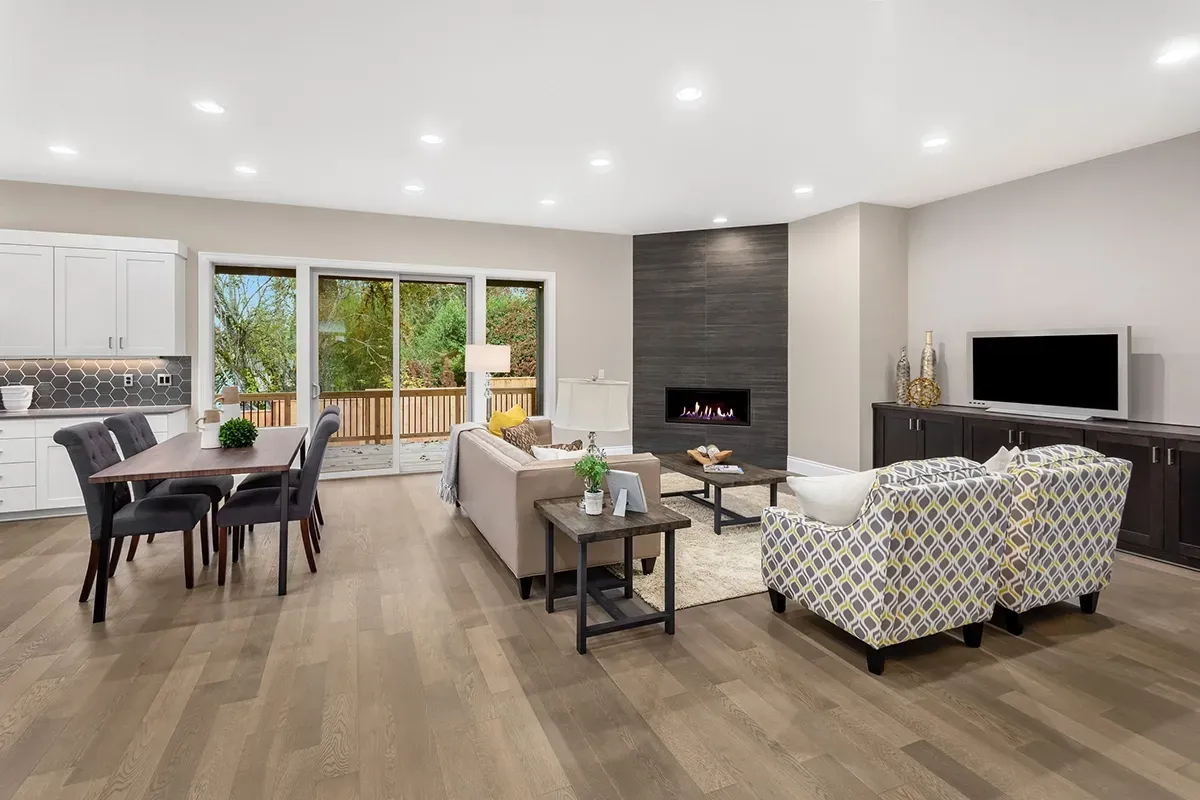
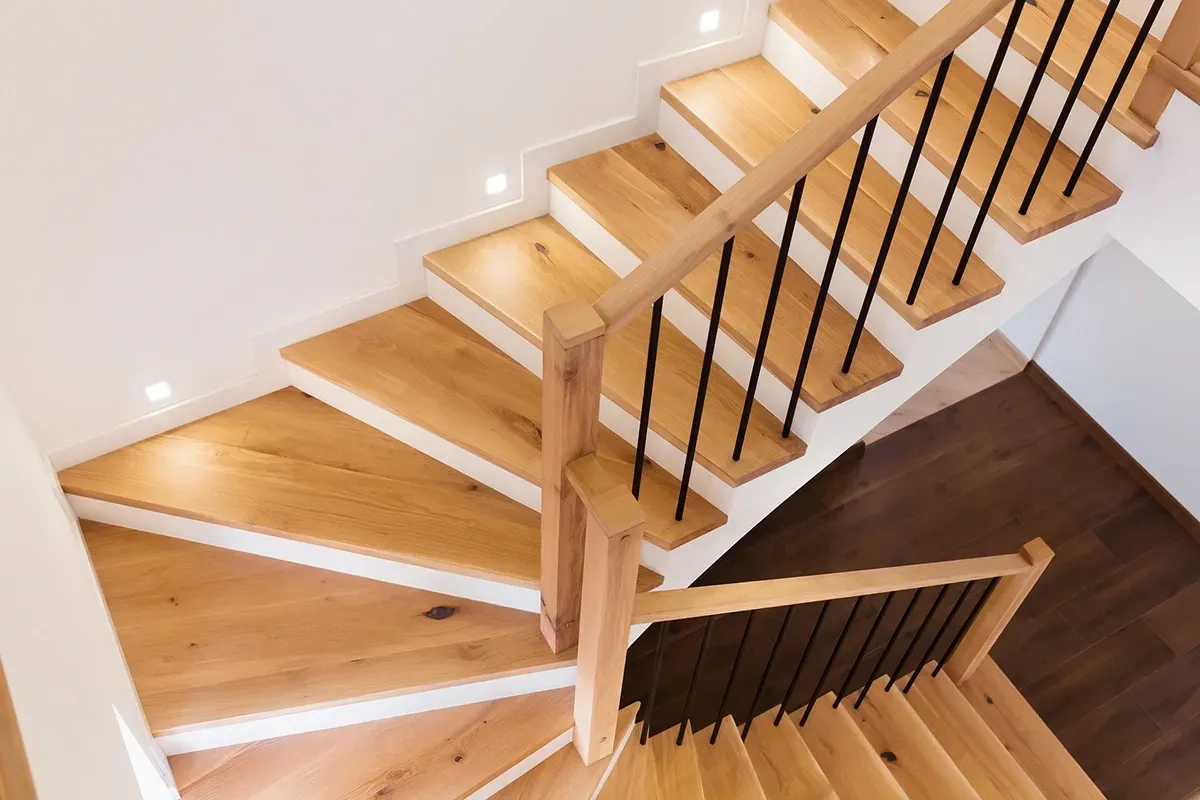
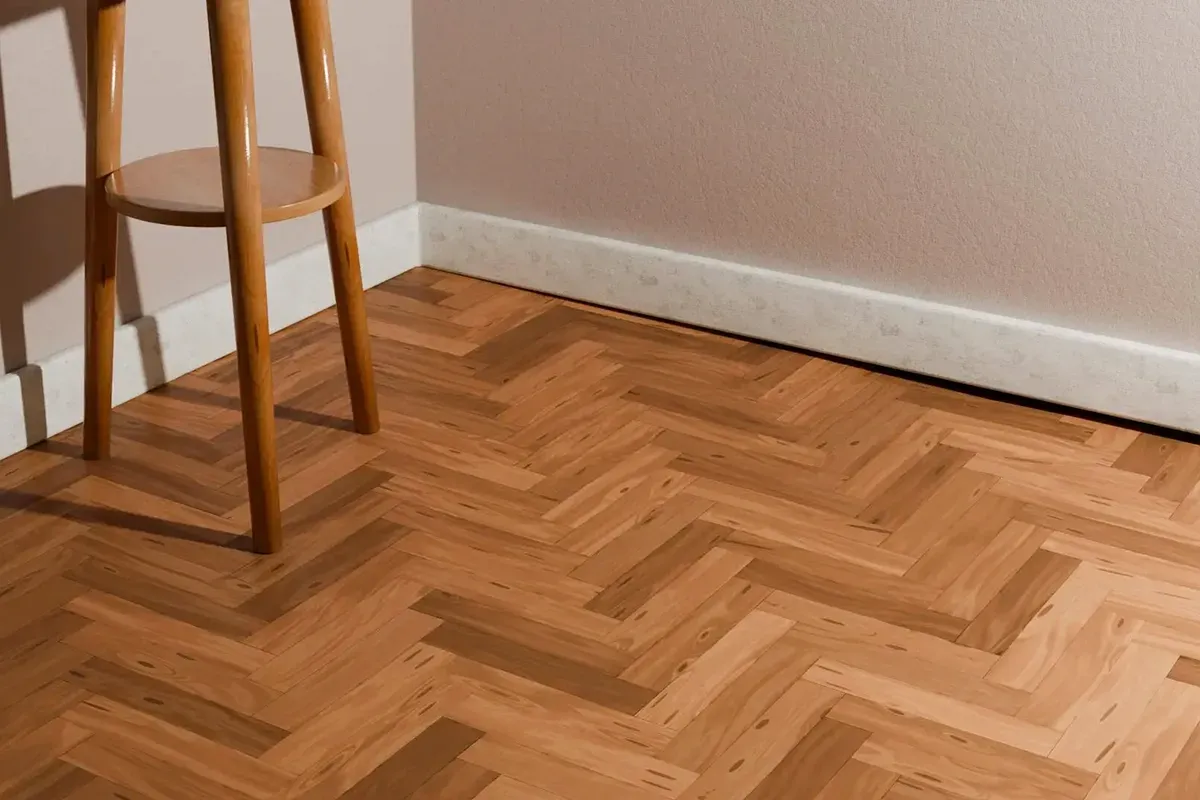
Wood flooring adds warmth, elegance, and value to any home, but over time, it’s inevitable that scratches will appear. Whether caused by furniture, pets, or everyday wear and tear, scratches on wood floors can be frustrating. The good news? Many types of scratches can be fixed easily. Various DIY solutions exist for minor wood floor scratches, while deeper ones can be
As a leading flooring company in Portland, Oregon, we at Rejuvenation Floor and Designunderstand the importance of keeping your hardwood floors in top condition. This guide will walk you through simple and effective ways to fix scratches and restore your flooring’s natural beauty.
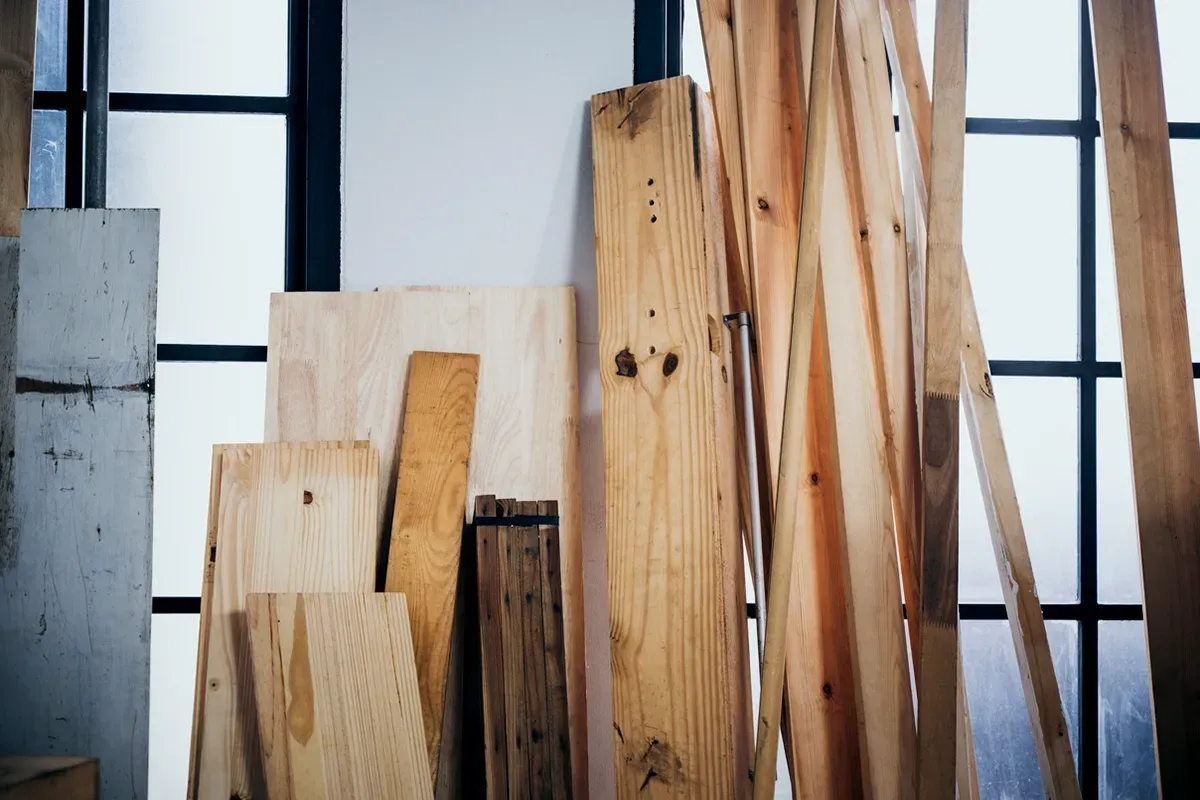
Types of Wood Floor Scratches
Before jumping into repairs, it’s important to assess the depth of the scratches:
- Surface Scratches: These only affect the floor’s finish and can often be repaired or altered for an improved aesthetic.
- Minor Scratches: These penetrate slightly into the finish and can sometimes be repaired with a buff & recoat.
- Deep Scratches & Gouges: These go beyond the surface and often need full scale sanding & refinishing.
DIY Solutions for Fixing Surface Scratches
1. Clean the Area First
Before repairing any scratch, make sure the area is clean:
- Sweep away dust and debris.
- Use a damp microfiber cloth to remove any dirt.
- Let the area dry completely.
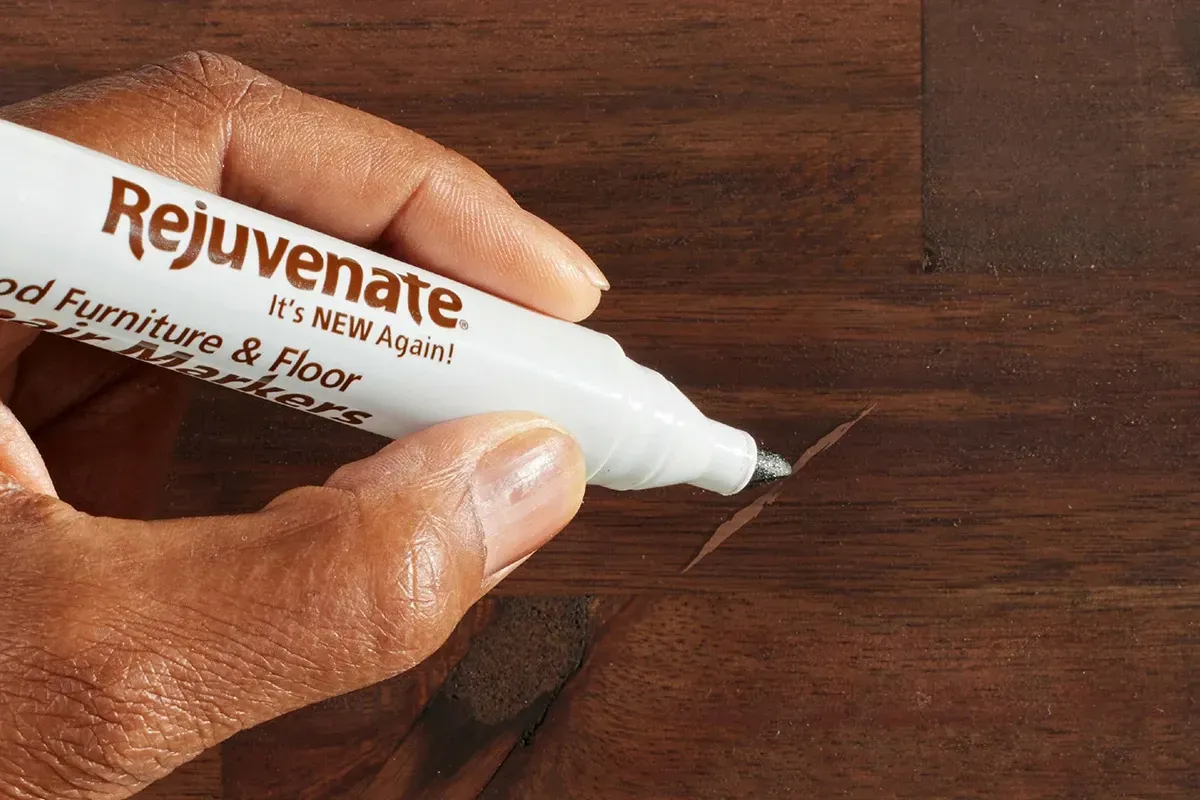
2. Use a Wood Floor Repair Marker
For light scratches, a wood repair marker that matches your floor color can quickly conceal imperfections.
How to Use It:
- Shake the marker well.
- Run it over the scratch in the direction of the wood grain.
- Wipe away excess with a clean cloth.
Pro Tip: Test the marker on an inconspicuous area first to ensure a good color match.
3. Apply a Vinegar & Oil Solution
‘IF’ approved by your manufacturers finish warranty, a natural way to reduce the appearance of light scratches is a mixture of equal parts white vinegar & olive oil.
How to Use It:
- Mix vinegar and olive oil in a small bowl.
- Dip a soft cloth into the mixture.
- Gently rub the scratched area in circular motions.
- Let it sit for a few hours, then buff with a clean cloth.
Why It Works: Vinegar cleans the surface while olive oil helps to blend and conceal the scratch.
4. Rub in a Walnut (Yes, Really!)
Natural walnut oil can help fill in small scratches on wood floors.
How to Use It:
- Take a walnut (without the shell).
- Rub it over the scratch in the direction of the grain.
- Let the natural oils absorb for a few minutes.
- Buff with a soft cloth for a polished look.
Eco-Friendly & Safe: This method is all-natural and safe for kids and pets. To be clear, this method should only be used if the surrounding area of the plank already has significant damage, as this method could cause additional damage to a softwood such as fir.
How to Fix Minor Scratches
If a scratch is slightly deeper than the surface, these methods will help:
1. Use a Wood Touch-Up Crayon
Wood crayons work similarly to repair markers but offer better coverage for slightly deeper scratches.
How to Use It:
- Choose a crayon that closely matches your floor color.
- Rub the crayon into the scratch.
- Use a soft cloth to remove excess and blend the area.
2. Try a Blending Pencil or Stain Pen
Blending pencils are designed to fill scratches while maintaining the wood’s natural finish.
How to Use It:
- Apply the blending pencil directly into the scratch.
- Lightly rub with a soft cloth.
- Apply a clear finish if needed.
Best For: Minor scratches on engineered hardwood and solid wood floors.
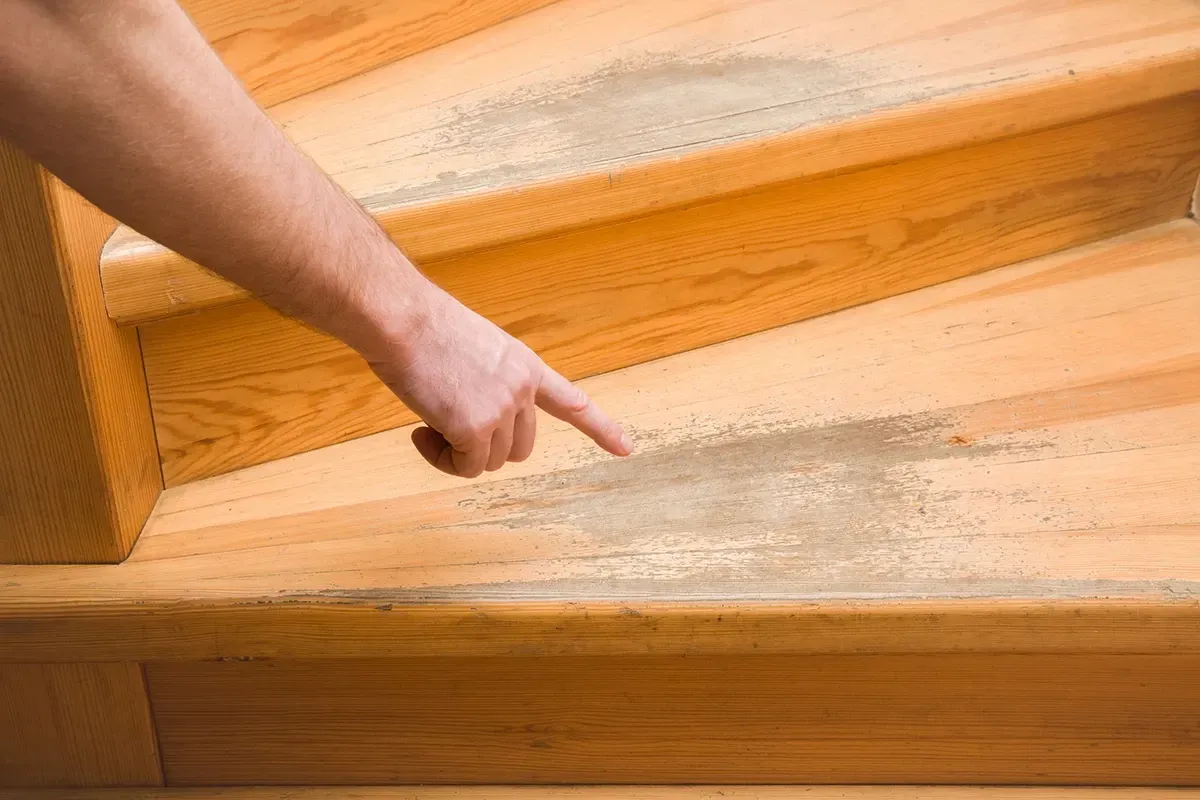
How to Fix Deep Scratches & Gouges
For scratches that expose the raw wood, more advanced repair techniques are needed.
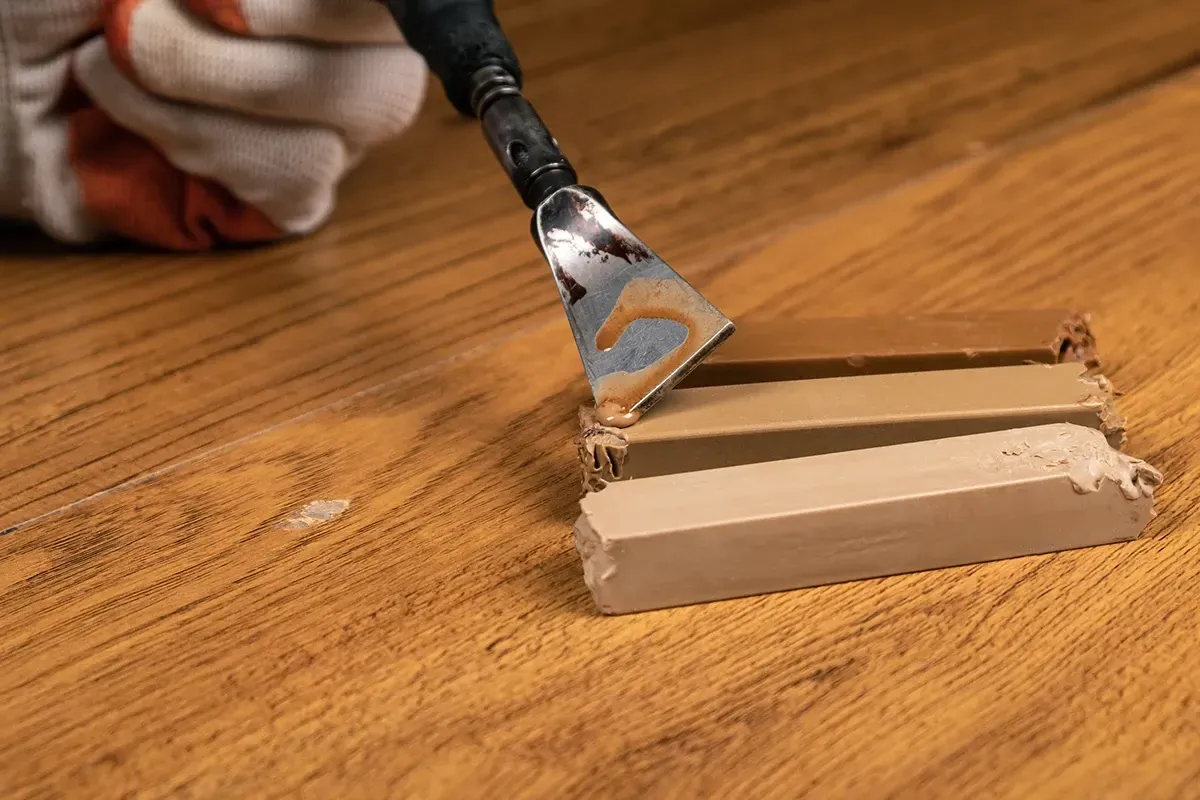
1. Use Wood Filler
Wood filler helps fill in gouges and deep scratches before refinishing.
How to Apply:
- Choose a stainable wood filler that matches your flooring, preferably oil based.
- Apply the filler into the scratch using a putty knife without causing additional scratches.
- Let it dry completely.
- Lightly sand the area with fine-grit sandpaper.
- Apply a matching stain to blend the repair.
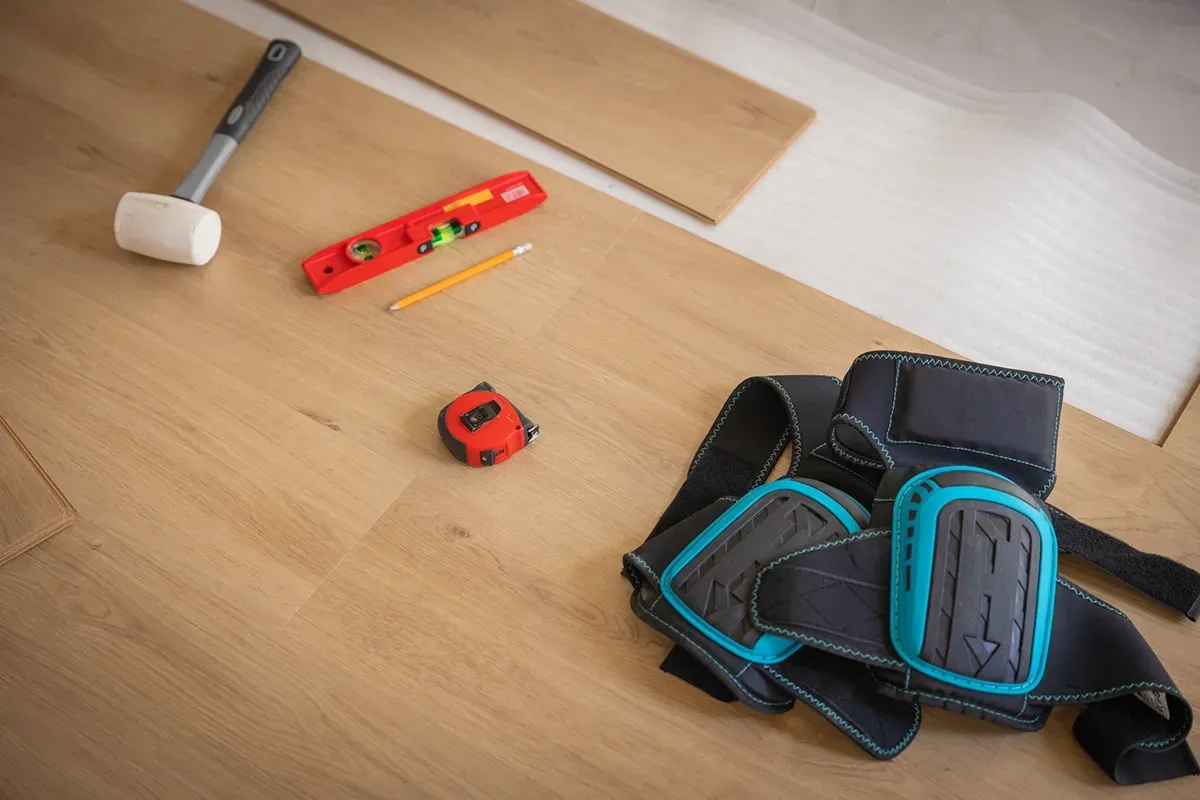
2. Sand and Refinish for Extensive Damage
If scratches cover a large area, refinishing the floor may be the best solution.
Steps to Refinish Wood Floors:
- Lightly sand the scratched area using fine-grit sandpaper (220-grit).
- Clean off dust with a damp cloth.
- Apply a matching wood stain if necessary, or a clear sealer.
- Finish with a polyurethane topcoat to protect the repaired area.
Best For: Deep scratches on solid hardwood floors.
Preventing Future Scratches on Wood Floors
The best way to keep your hardwood floors looking flawless is to prevent scratches before they happen.
1. Use Furniture Pads
- Attach felt pads to the legs of chairs, tables, and furniture.
- Replace them every few months as they wear down.
2. Place Rugs in High-Traffic Areas
- Use area rugs in front of sinks, entryways, and dining areas.
- Choose non-slip rug pads that are safe for wood floors.
3. Trim Pet Nails
- Keep pet nails trimmed to avoid scratches from claws.
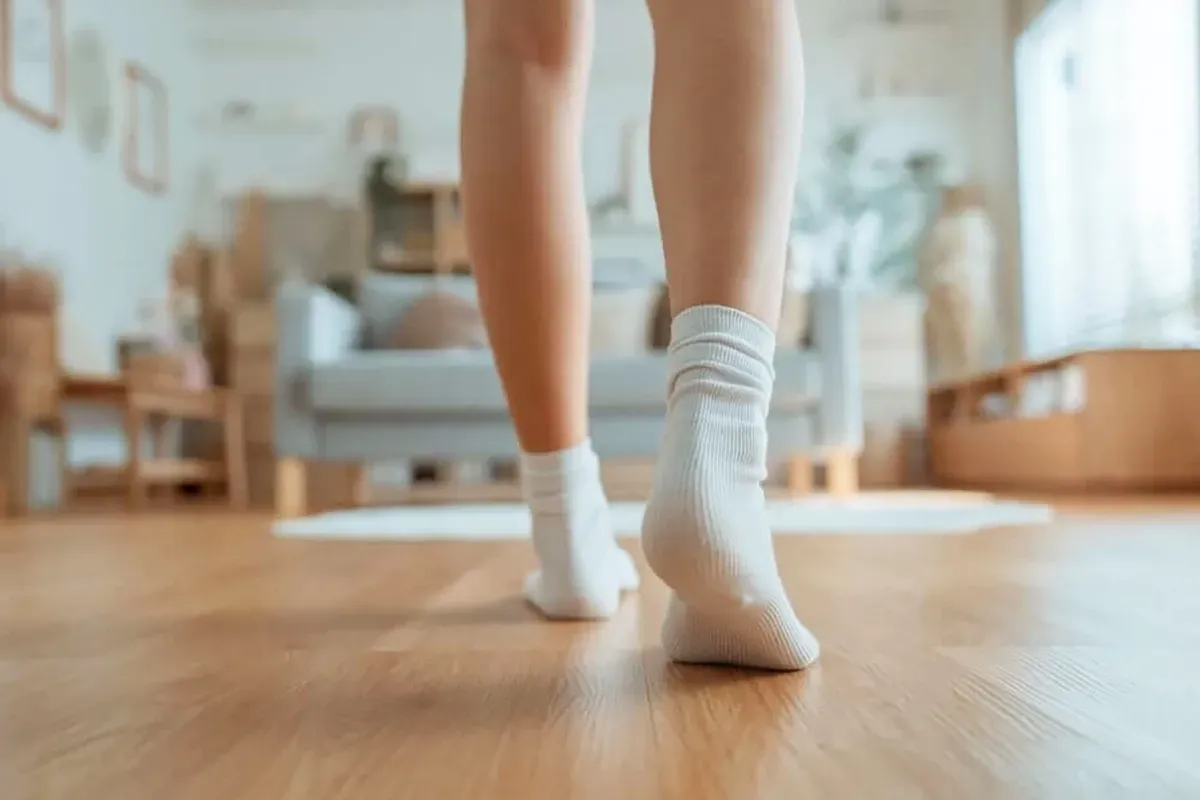
4. Avoid Wearing Shoes Indoors
- High heels and hard-soled shoes can cause deep scratches.
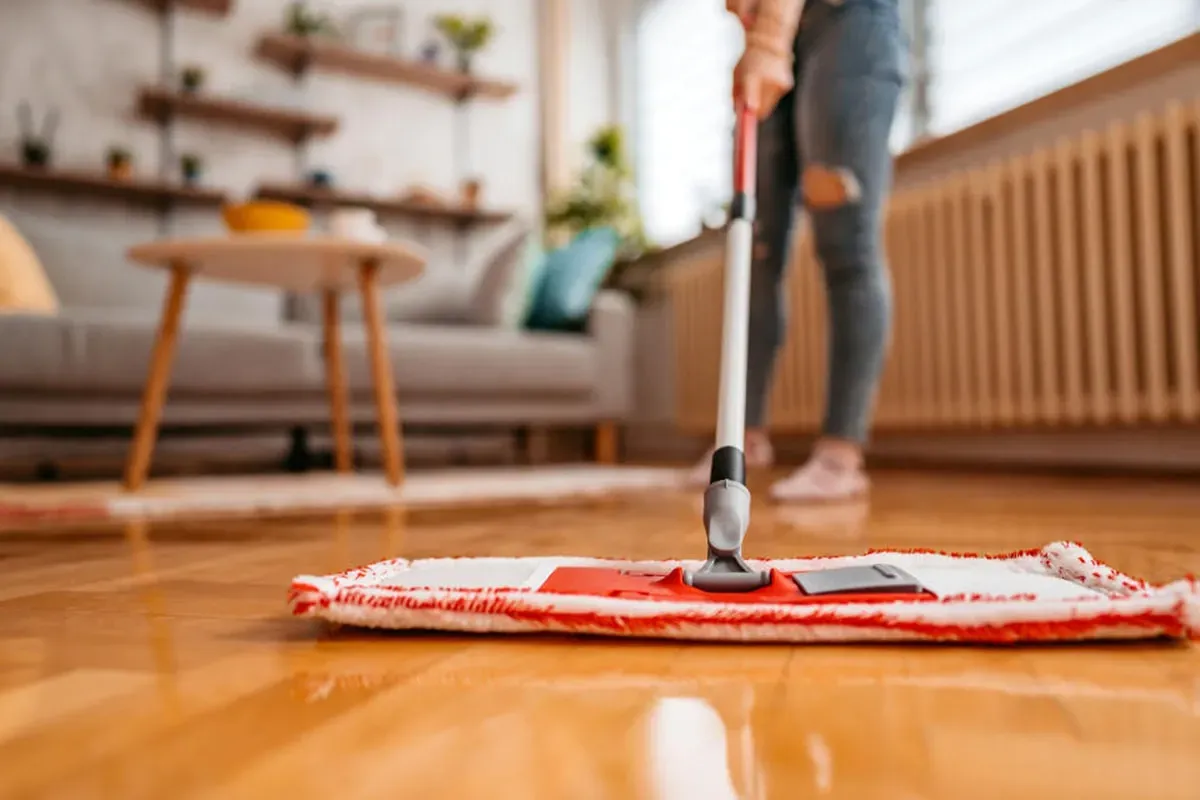
5. Clean Regularly with Proper Products
- Use a pH-neutral wood floor cleaner to prevent buildup and wear.
- Avoid harsh chemicals that can strip the protective finish.
When to Call a Professional
While many scratches can be repaired with DIY methods, there are times when new flooring or professional refinishing are the best option.
When to Seek Professional Help:
- Scratches are widespread across the floor.
- There is deep gouging or other types of wood floor damage.
- You want a full refinish for a fresh, new look.
At Rejuvenation Floor and Design, we specialize in professional hardwood floor refinishing, ensuring your floors look brand new again.
Final Thoughts
Scratches on wood floors are common, but they don’t have to be permanent. With simple DIY techniques, minor scratches can be easily concealed, while deeper ones may require refinishing. By maintaining your floors properly and taking preventative steps, you can keep your hardwood flooring looking beautiful for years to come. Keep in mind that Context Matters and that all scenarios and circumstances cannot be covered in a simple blog article. Do additional research and consult a professional before embarking on your scratch repair journey.
If you’re unsure about the best repair method for your flooring, contact us for expert advice and professional repair services.
About the Author:
Levi Winkler is the owner of Rejuvenation Floor & Design, where he has been helping homeowners and businesses transform their spaces with high-quality flooring for over 16 years. Based in Portland, Oregon, Levi specializes in hardwood flooring, as well as luxury vinyl, laminate, and more. With decades of hands-on flooring installation and restoration experience, Levi is known for his attention to detail, product knowledge, and commitment to long-lasting results. He works closely with clients to ensure every flooring project is tailored to their style, needs, and budget.
Recent Articles